Working from home in a shoebox-sized space? You’re not alone, and you definitely don’t need to sacrifice style for function. These five smart layouts prove that small home offices can be just as inspiring as those sprawling corner-office setups you see on Pinterest. Let’s turn that cramped corner into your new favorite spot.
1. The Corner Command Center
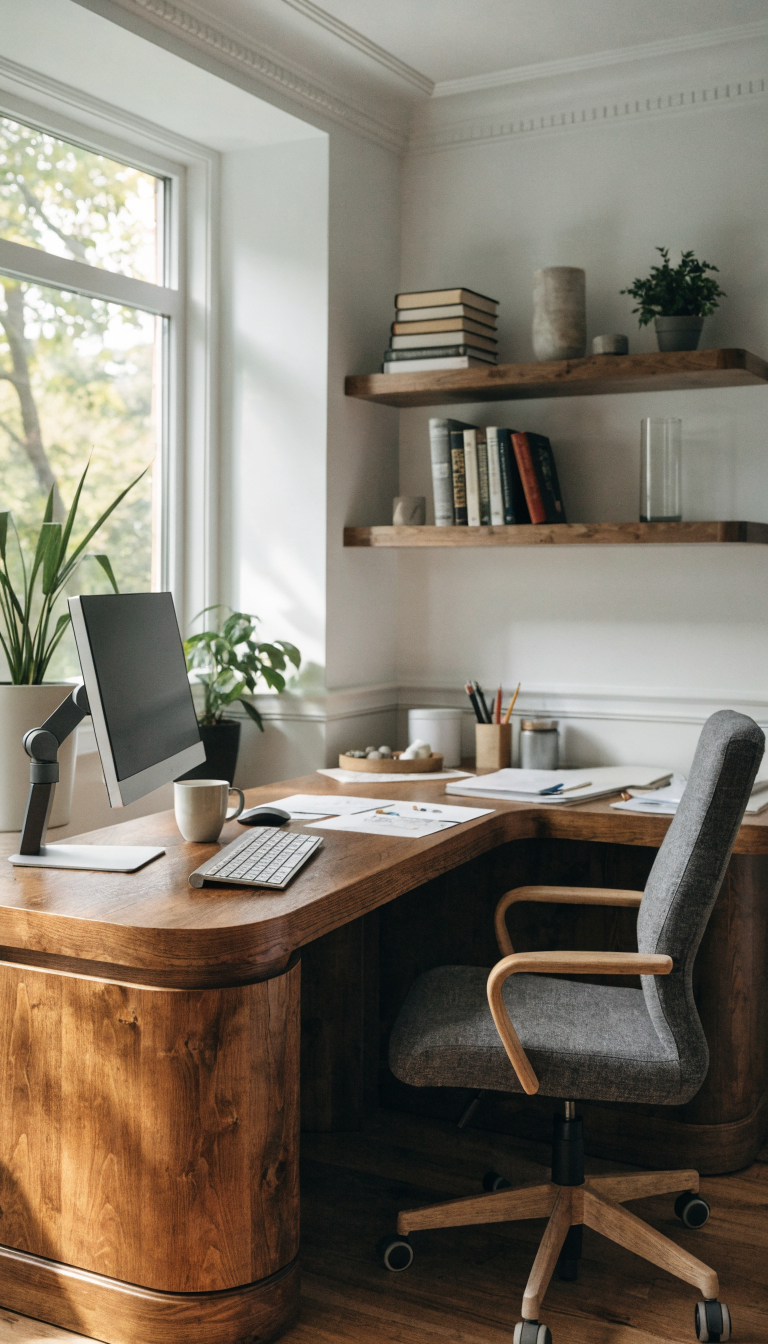
Corners are the most underutilized real estate in any home, and honestly, they’re perfect for creating a compact office that doesn’t feel like an afterthought. This layout maximizes every single inch by wrapping your workspace around two walls, giving you tons of surface area without eating up precious floor space.
What Makes This Layout Work
The beauty of a corner setup is all about the L-shaped configuration. You get separate zones for your computer work and your creative projects or paperwork. No more shuffling things around every five minutes because you ran out of desk space.
Position your main monitor on one side and use the perpendicular surface for writing, sketching, or just spreading out when you need to think. The corner itself becomes this natural pivot point where everything flows together seamlessly.
Key Elements To Include
- Floating corner desk or two separate desks positioned at 90 degrees
- Vertical storage above the desk (floating shelves or wall-mounted cabinets)
- Task lighting on both surfaces
- Rolling file cabinet that tucks under one side
- Cable management system along the wall corner
Pro tip: Paint the corner walls a different color than the rest of the room to create a visual boundary. This psychological separation helps your brain switch into work mode, even when your office is technically in your bedroom or living room.
This layout works brilliantly if you’re sharing a room with another function. The corner feels like its own distinct zone without requiring walls or room dividers that make everything feel even more cramped.
2. The Floating Wall Wonder
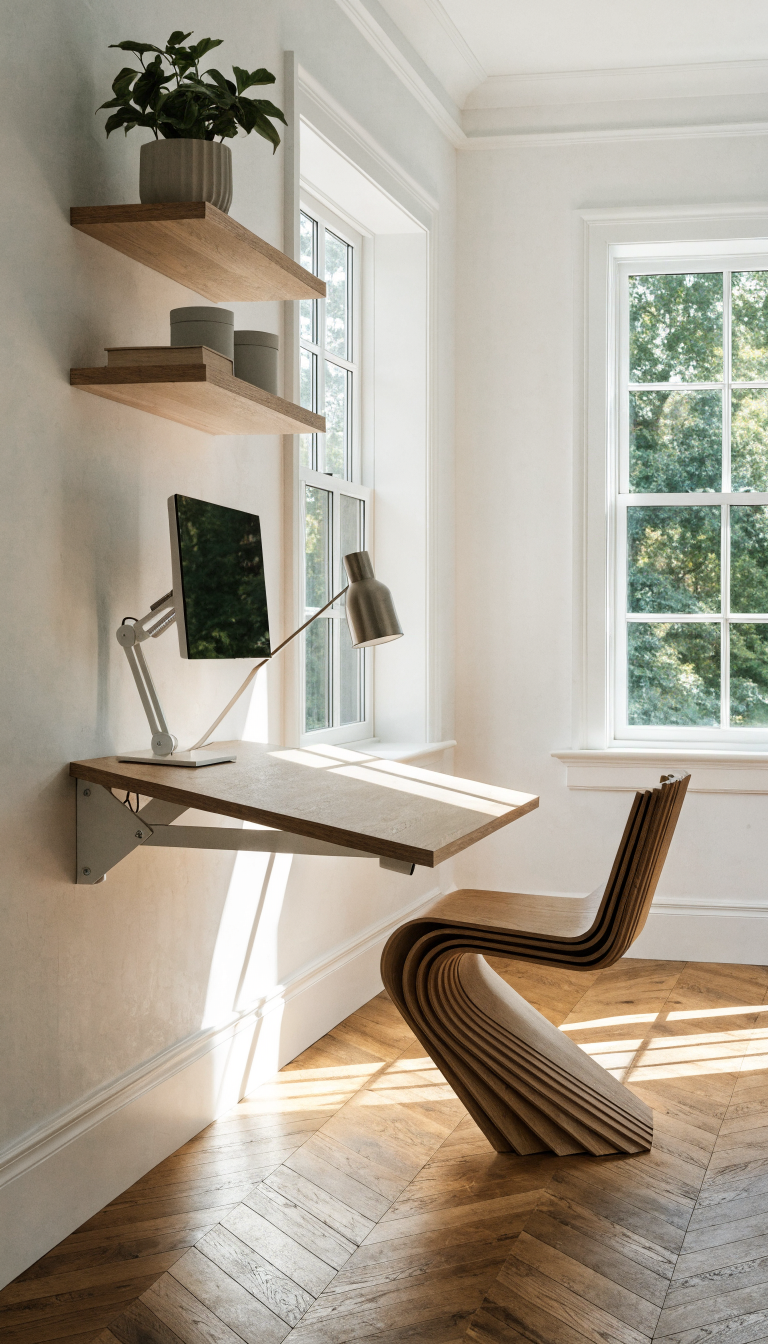
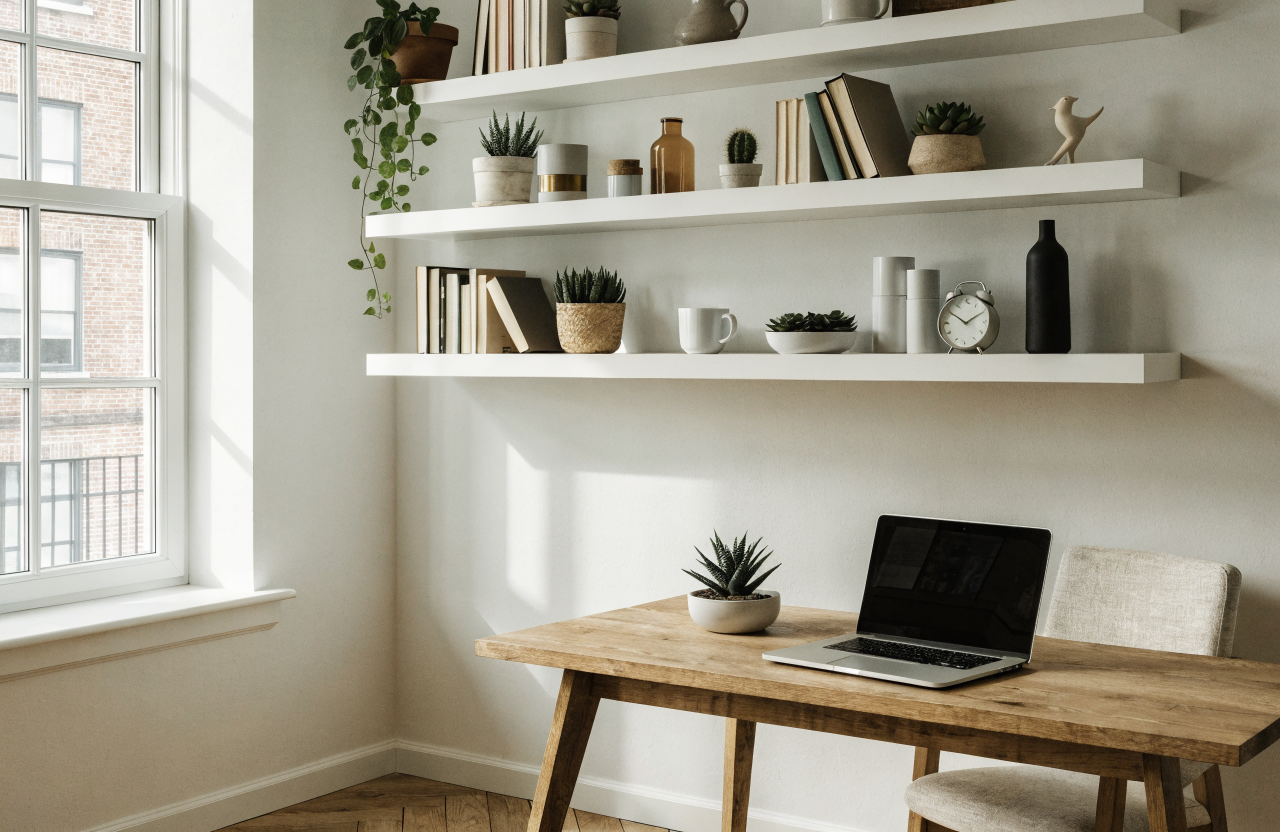
No floor space? No problem. This genius layout ditches the traditional desk entirely and mounts everything on the wall. It’s like your office is levitating, and trust me, it looks way cooler than it sounds.
The wall-mounted approach is perfect for super tight spaces where every square foot counts. You can fold up your workspace when you’re done for the day, or at minimum, keep the floor completely clear for that spacious, minimalist vibe everyone’s after.
How To Build Your Floating Office
Start with a sturdy wall-mounted desk that either folds down or stays permanently attached. IKEA and other retailers make tons of options that can hold your laptop and a coffee cup without taking up more than eight inches of depth when closed.
The magic happens when you add vertical storage solutions above and beside the desk. Think floating shelves, pegboards, magnetic boards, and wall-mounted organizers. Everything you’d normally store in desk drawers gets reimagined as wall storage instead.
- Wall-mounted fold-down desk (14-20 inches deep when open)
- Pegboard or grid system for supplies
- Narrow floating shelves stacked vertically
- Wall-mounted monitor arm to save desk space
- Slim wall sconce or clip-on lamp
Keep your color scheme light and monochromatic to enhance that floating effect. White or light wood tones make the whole setup feel airy rather than cluttered, even when you’ve got plenty of stuff up there.
This layout is seriously perfect for studio apartments or when you’re converting a hallway nook into an office. You maintain that open flow while still having a legit workspace that doesn’t scream “I work where I sleep.”
3. The Closet Conversion
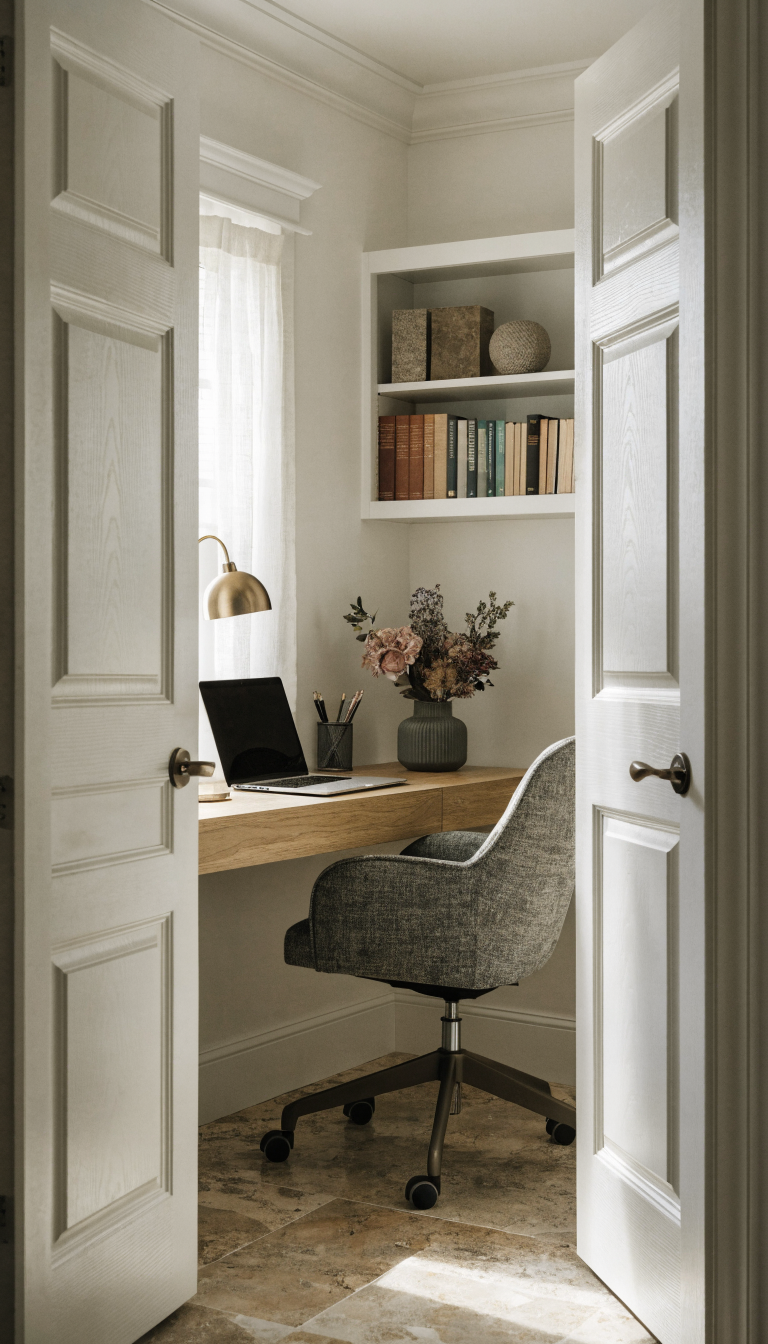
Hear me out: that coat closet you barely use could become the chicest little home office you’ve ever seen. Closet offices, or cloffices as the internet lovingly calls them, are having a major moment, and for good reason.
By claiming a closet, you get an actual door you can close when work is done. The psychological benefit of physically shutting away your work at the end of the day? Priceless.
Converting Your Closet Into An Office
First, gut that closet completely. Remove the hanging rod, old shelving, everything. You’re starting fresh with a blank slate that’s probably about 24-30 inches deep and anywhere from 36-72 inches wide.
Install a built-in desktop at the perfect height for you (typically 28-30 inches from the floor). Use the full width of the closet, and suddenly you’ve got more desk space than you’d think. Mount shelves above for books and supplies, and use the walls for pegboards or cork boards.
Essential Closet Office Features
- Custom-fit desktop secured to wall studs
- Adequate lighting (LED strip lights or a small pendant)
- Proper ventilation (small USB fan if needed)
- Power strip mounted inside for easy access
- Door-mounted organizer for extra storage
- Comfortable chair that slides in completely when not in use
The biggest challenge? Lighting and airflow. Closets weren’t designed for eight-hour workdays, so you’ll need to add task lighting and possibly a small fan. Battery-powered LED strips work great if you don’t want to deal with electrical work.
Paint the interior a fun, energizing color since it’s completely separate from the rest of your room. This is your chance to go bold without committing your entire space to that trendy shade you’re obsessing over.
When you close those doors at 5 PM, your workspace disappears completely. For anyone struggling with work-life boundaries in a small home, this layout is a total game-changer.
4. The Window Seat Workspace
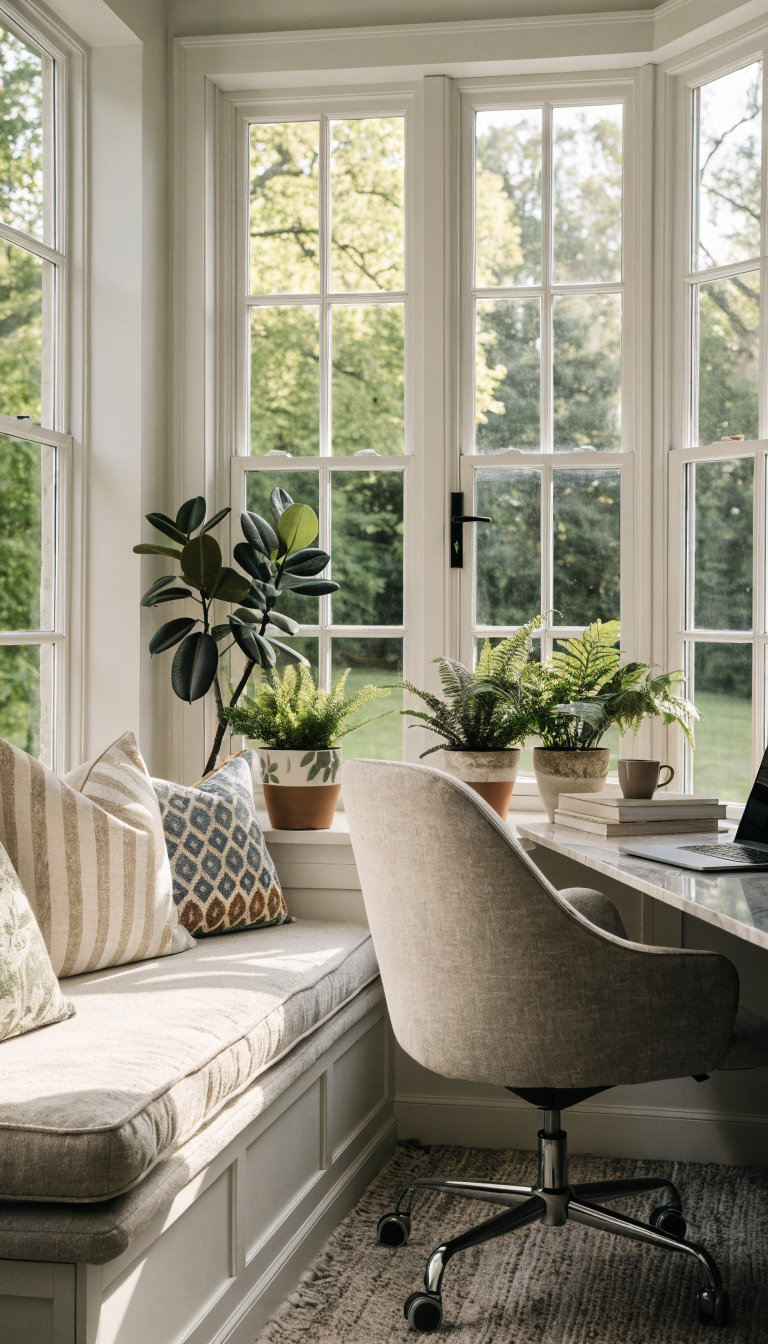
Why choose between a cozy reading nook and a functional office when you can have both? The window seat office combines the best natural light in your home with a multi-purpose space that works as hard as you do.
Natural light is seriously underrated for productivity and mood. Positioning your workspace by a window isn’t just about the view (though that’s a nice bonus). It’s about working with your body’s natural rhythms instead of against them.
Designing Your Window Workspace
If you already have a window seat, you’re halfway there. Add a cushion that’s firm enough for extended sitting, and use a lap desk or small side table for your laptop. For windows without built-in seating, install a floating bench that spans the width of the window at sitting height.
The area underneath becomes prime storage real estate. Built-in drawers, baskets, or cabinets keep your office supplies tucked away but accessible. The window sill above holds plants, personal items, or small organizers for pens and notepads.
- Firm cushioned seating (at least 4 inches thick)
- Storage drawers or baskets underneath
- Side table or swing-arm laptop stand
- Sheer curtains for glare control
- Wall-mounted shelves on either side of the window
- Footrest or ottoman for ergonomic positioning
One word of caution: monitor your screen glare. You might need adjustable window treatments for those super bright afternoons when you can’t see your screen at all. Sheer curtains or adjustable blinds let you control light without losing that connection to the outdoors.
This layout absolutely shines (literally) if you’re in a creative field or do a lot of reading and planning. The combination of natural light and a slightly relaxed seating position can actually boost your creative thinking compared to a traditional desk setup.
5. The Room Divider Double-Duty
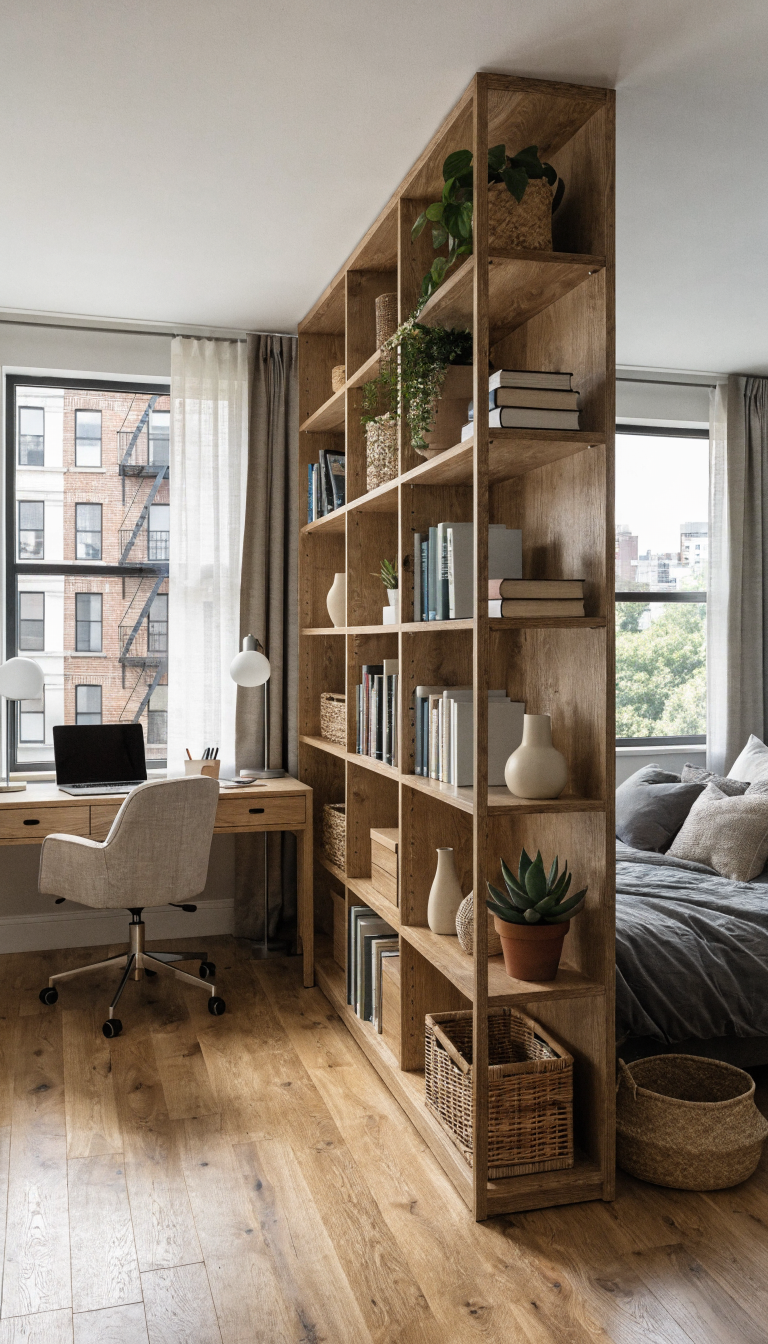
Living in a studio or need your office in a shared space like your bedroom? The room divider office creates separation without permanent walls, and the divider itself becomes functional workspace. It’s basically furniture Tetris at its finest.
This layout uses a bookshelf, shelving unit, or purpose-built desk as a room divider that faces both directions. One side is your office, the other side serves your living space, and the unit itself provides storage and surface area for both.
Building A Functional Divider Office
The key is choosing the right divider piece. Look for open shelving units that aren’t too deep (12-16 inches works perfectly). You want something that provides visual separation without making either side feel dark or closed off.
Position your desk against one side of the divider. The shelves become your office storage and display, accessible from your desk side. The back of the unit faces your living area and holds books, plants, or decorative items that make that side feel finished rather than like you’re staring at the back of furniture.
What You’ll Need
- Sturdy open shelving unit (at least 6 feet tall for effective division)
- Desk that butts up against or attaches to the divider
- Matching storage boxes or baskets for the shelves
- Desk lamp with adjustable arm
- Area rug to define the office zone
- Decorative items that look good from both sides
Style both sides thoughtfully. Your office side should be functional and organized, but the living room side needs to look intentional too. Use matching baskets, style books with spines facing out, and add some plants that look good from any angle.
The psychological boundary this creates is surprisingly effective. Even though there’s no actual wall, turning your chair away from the living space and facing your divider-backed desk helps your brain shift into work mode.
This layout works especially well in studio apartments or primary bedrooms where you need the office to disappear visually after hours. Add a room-darkening curtain on a track if you want the option to completely hide the office side when you’ve got guests over.
Ready to reclaim that awkward corner or underused closet? These layouts prove that small home offices can be just as functional and inspiring as sprawling dedicated rooms. Pick the one that fits your space and work style, and watch your productivity (and your interior design game) level up. Your new favorite workspace is waiting.
0 Comments