Sharing a home office doesn’t mean sacrificing style or productivity. Whether you’re working alongside your partner, a roommate, or need dual workstations for different tasks, these genius layouts prove that two desks can absolutely thrive in a compact space. Let’s dive into setups that’ll make you wonder why you didn’t try this sooner.
1. The Face-to-Face Power Setup
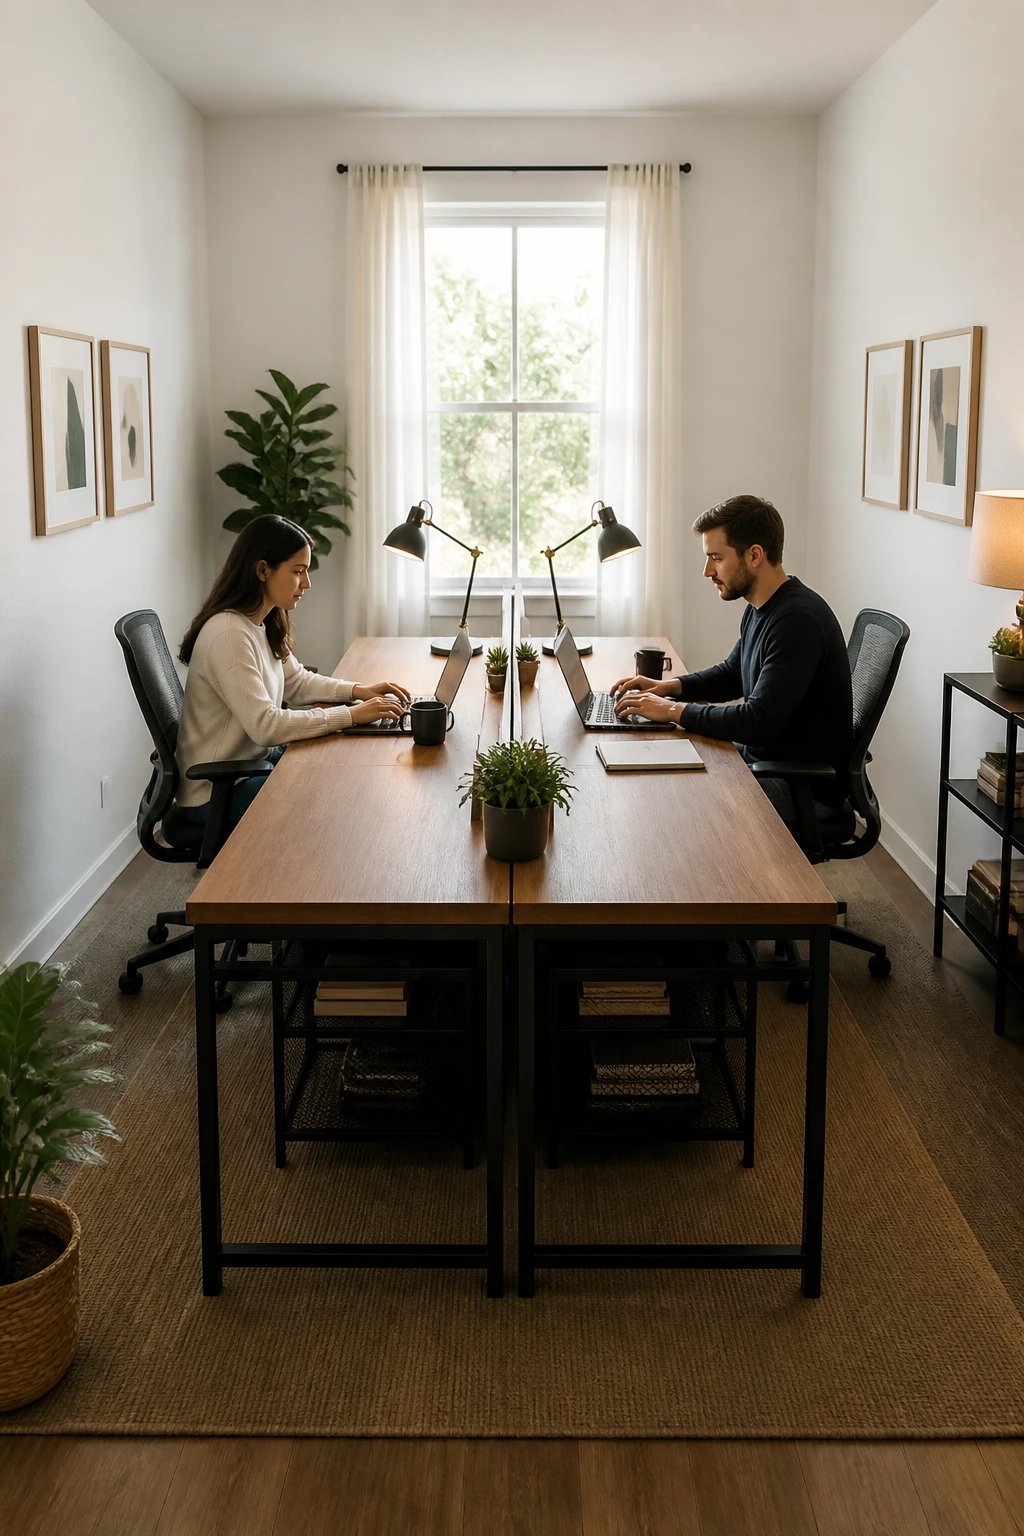
Picture this: two desks pushed together lengthwise, creating one long workspace where you and your office mate sit across from each other. It’s like having a permanent coffee shop coworking vibe, minus the overpriced lattes.
This layout works incredibly well in narrow rooms because it maximizes your floor space while creating a balanced, symmetrical look. You’re using the room’s length instead of fighting its width, which is honestly genius when you think about it.
Why This Layout Rocks:
- Built-in collaboration – perfect for quick questions without shouting across the room
- Shared central space for printers, supplies, or that plant you’re both trying to keep alive
- Natural light access from both sides if positioned near windows
- Easy cable management when power outlets meet in the middle
The trick here is choosing desks that are identical or complementary in style. Mismatched desks in this setup can look chaotic rather than intentional. Go for clean-lined pieces that are around 48-60 inches long each, giving you a total workspace of 8-10 feet.
Pro tip: Add a small divider or desk organizer in the center if you need visual separation without building an actual wall. A pair of matching table lamps or monitor stands works perfectly for this subtle boundary.
This setup shines when both people have similar work styles and don’t mind the occasional eye contact. It’s not ideal if one person takes a lot of video calls while the other needs absolute silence, but for most couples or coworkers, it creates an energizing shared workspace.
2. The L-Shaped Corner Commander
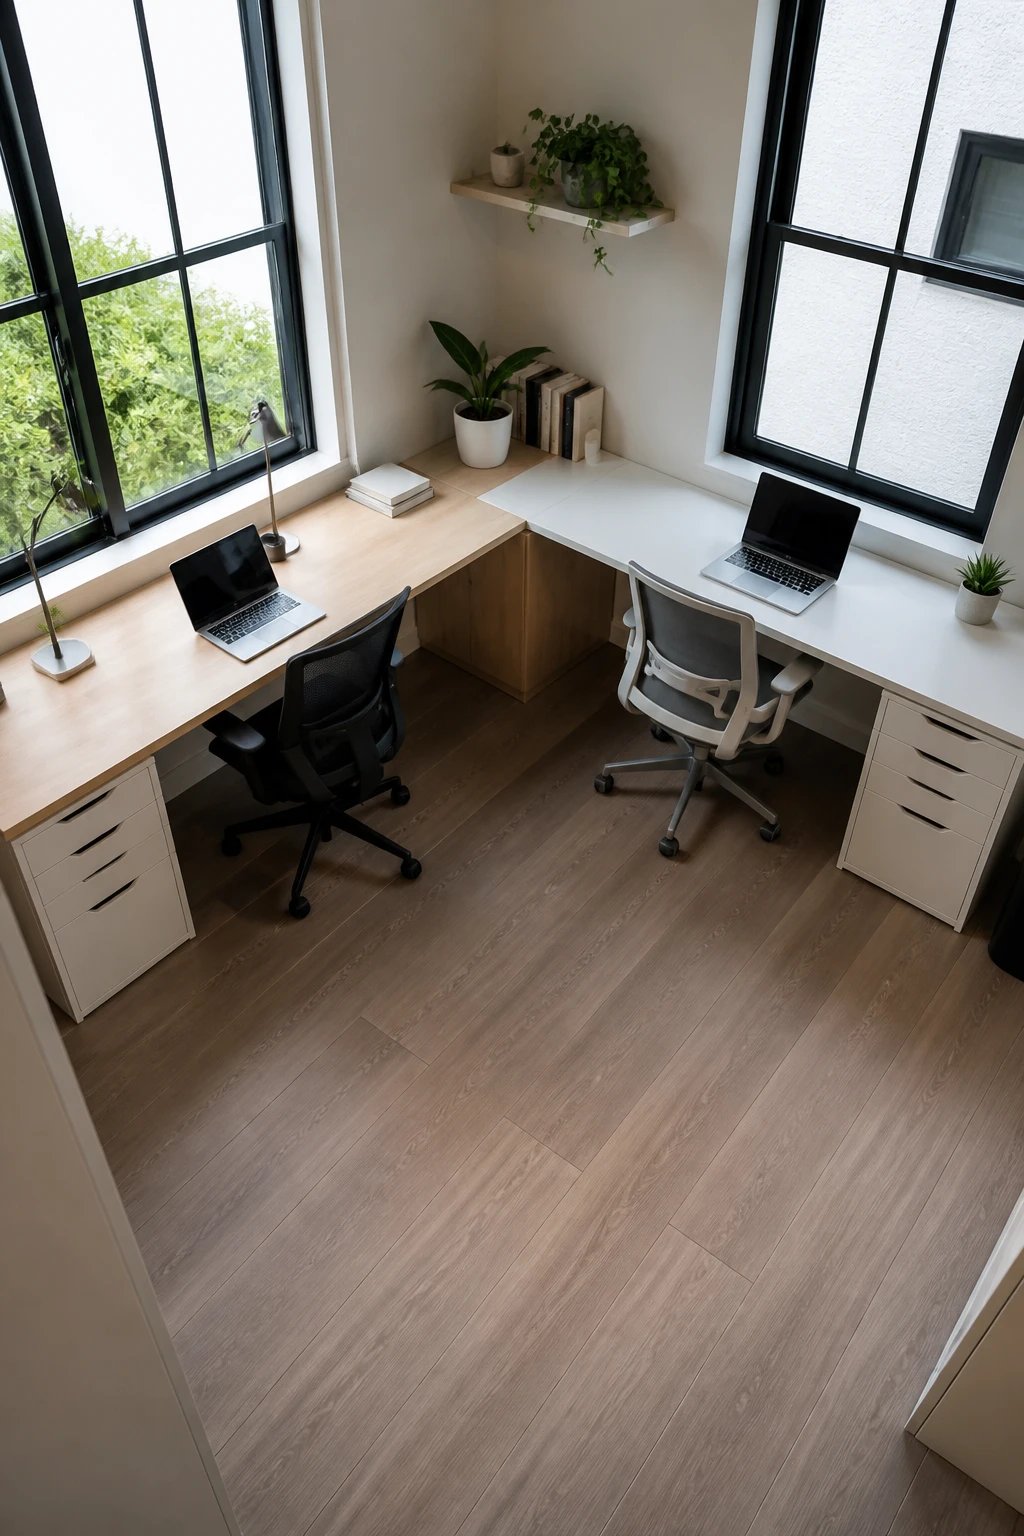
Got an empty corner collecting dust? Time to turn it into the hardest-working square footage in your home. The L-shaped configuration uses two separate desks positioned perpendicular to each other, claiming that corner like office real estate royalty.
This layout is seriously underrated for small spaces because corners are often wasted dead zones. By placing desks along two adjacent walls, you create distinct workstations while keeping the center of the room open and breathable.
Setting It Up Right:
Start by measuring your corner carefully. You’ll want desks that are proportional to your wall lengths – typically one desk around 48-55 inches and another around 40-48 inches works beautifully. The person who needs more surface area for spreading out projects gets the longer desk.
Here’s where it gets smart: the perpendicular arrangement means you’re never staring at the same wall or competing for the same view. One person can face the window while the other looks at a gallery wall or shelving unit. Natural separation without actually separating.
- Privacy factor: High – you’re working at different angles
- Flexibility: Each desk feels like its own station
- Storage potential: Corner shelving units fit perfectly in the inside corner
- Traffic flow: Maintains clear pathways through the room
The beauty of this setup? You can easily pivot your chair to chat when needed, but you’re not in each other’s direct sightline during focused work time. It’s the introvert-friendly option, trust me.
Add a small bookshelf or filing cabinet in the corner where the desks meet to create additional storage and a visual anchor point. This fills what would otherwise be awkward empty space and gives both workstations easy access to shared supplies.
3. The Parallel Universe Layout
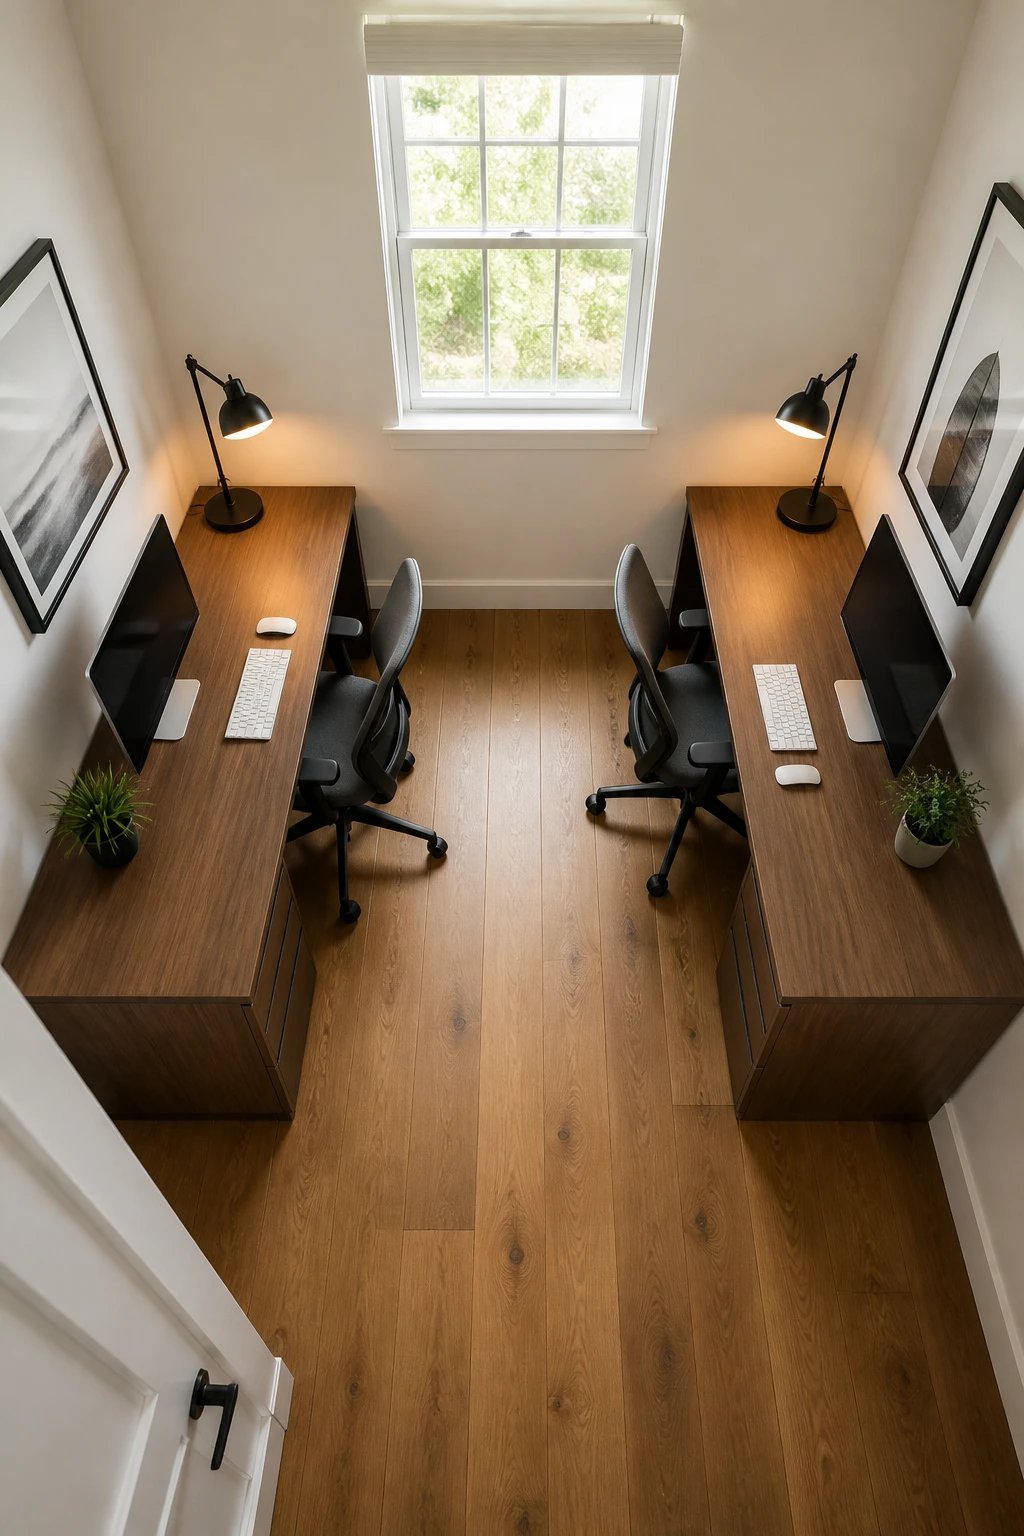
Two desks running parallel along opposite walls – it sounds simple because it is, and that’s exactly why it works so well. This setup transforms your small office into a surprisingly functional workspace that feels more spacious than it actually is.
When you position desks facing opposite walls, you create what interior designers call “visual balance.” The room feels intentional and organized rather than cramped, even when the space measures just 10×10 feet.
Making the Most of Parallel Desks:
The secret sauce here is choosing desks that don’t overwhelm the room’s width. Aim for depths around 24-30 inches max – anything deeper and you’ll be bumping chairs when you both push back from your desks. Nobody wants that awkward chair-crashing dance.
This layout works exceptionally well when you’ve got one window to share. Position one desk directly under or beside the window, and make sure the other desk has quality task lighting to compensate. Fairness matters, people.
- Privacy level: Maximum – you’re literally facing away from each other
- Acoustic benefit: Reduces direct noise interference during calls
- Personalization: Each wall becomes your own to decorate
- Floor space: Keeps the center clear for movement
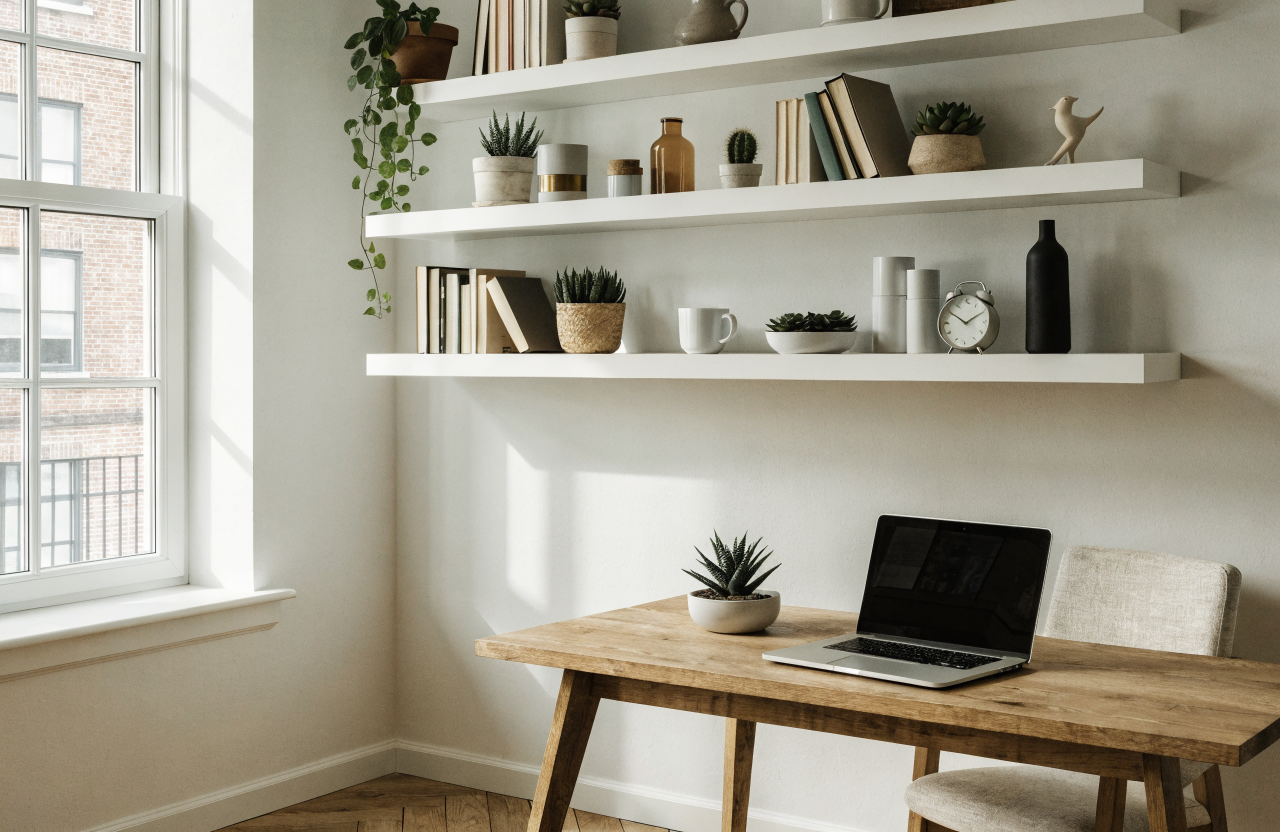
Here’s a game-changer: mount floating shelves above each desk to maximize vertical storage. This keeps your desktop clear while adding visual interest to both walls. Go for matching shelf styles to maintain cohesion, even if you arrange your items differently.
The parallel layout excels when both workers need serious concentration time or take frequent video calls. You’re giving each other the gift of background-free video calls – your coworkers won’t see someone walking behind you mid-presentation.
4. The Floating Island Station
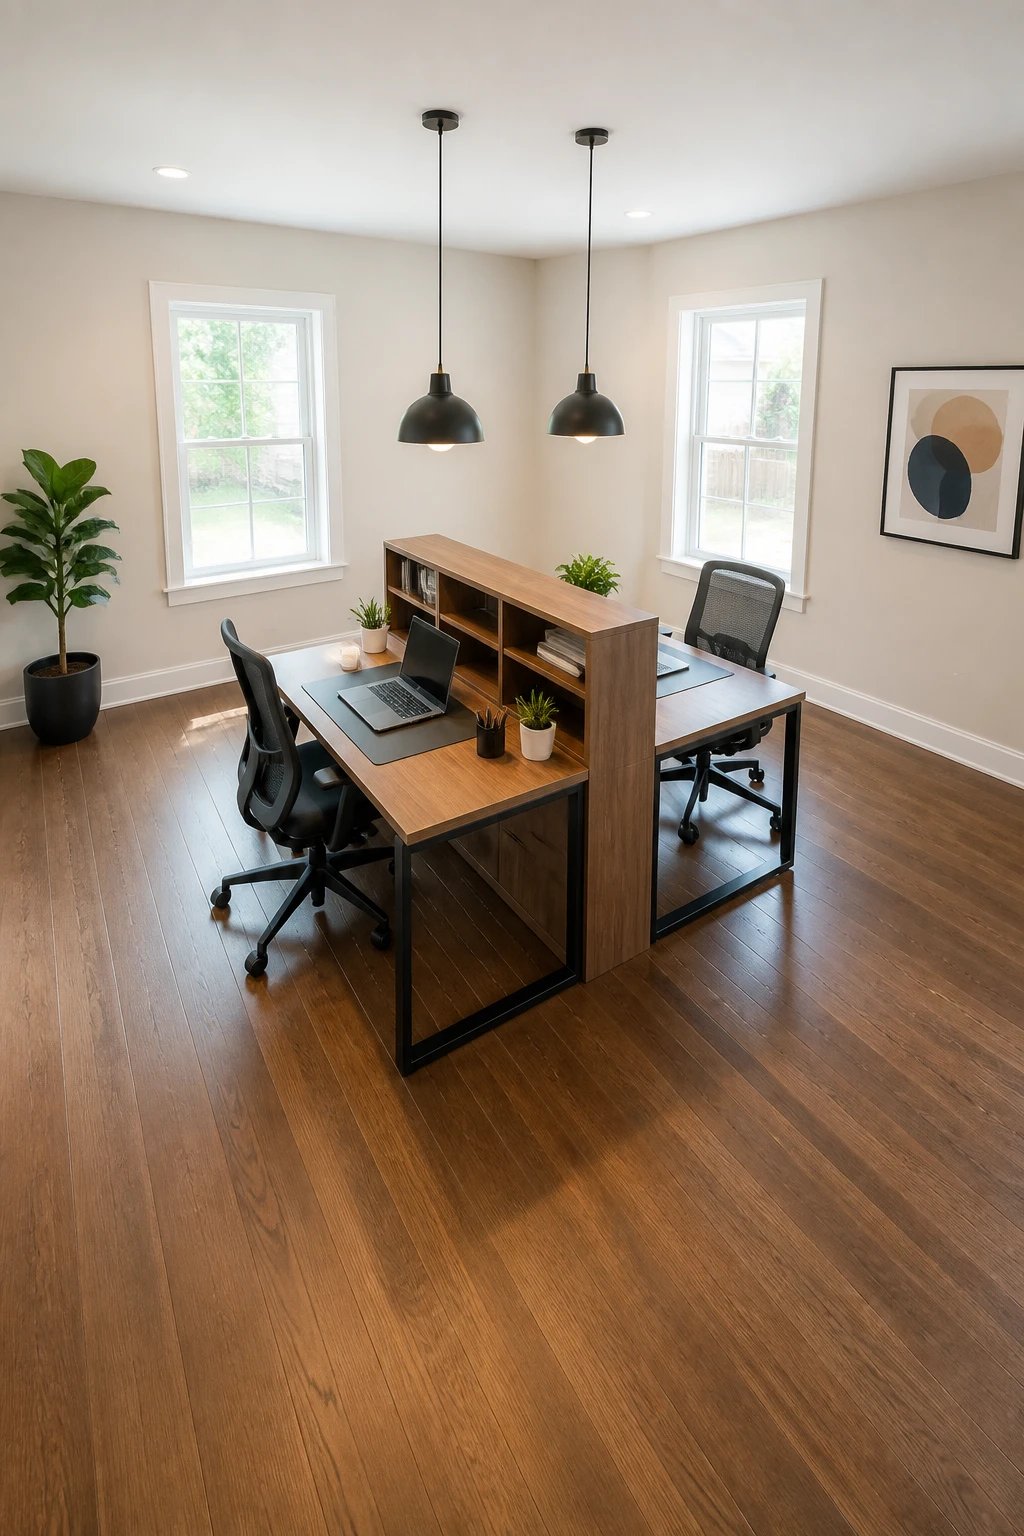
Ready for something unexpected? Push two small desks together back-to-back in the center of your room, creating a freestanding island workspace. Yes, seriously – it’s like a kitchen island, but for getting stuff done.
This unconventional setup only works in rooms with decent square footage (at least 10×12 feet), but when it works, it absolutely transforms the space. You’re using the room’s core instead of hugging the walls, which somehow makes everything feel bigger and more purposeful.
The Island Advantage:
Positioning desks back-to-back in the room’s center creates natural pathways on all sides. You can access filing cabinets, bookshelves, or that printer stand from any direction without doing an awkward shuffle dance around furniture.
The back-to-back arrangement gives both people complete visual privacy while maintaining that sense of working together. You’re sharing the same furniture piece but operating in your own zones – it’s the perfect balance of together-but-separate.
- Wall space: Completely freed up for shelving, art, or filing systems
- Lighting: Easier to achieve even illumination from all angles
- Flexibility: The entire perimeter becomes functional storage
- Statement factor: IMO, this looks seriously impressive
Make sure both desks have cable management solutions built in, because cords in the middle of a room can become a tangled nightmare fast. Look for desks with grommets or consider a small cable tray mounted underneath where the desks meet.
Add a narrow console table or credenza along one wall for shared equipment like printers and supplies. This keeps the island desks clear for actual work while maintaining easy access to everything you both need.
This layout shines for creative teams or partners who want that studio workspace vibe. It feels collaborative and energizing while still offering individual focus zones.
5. The Staggered Step Formation
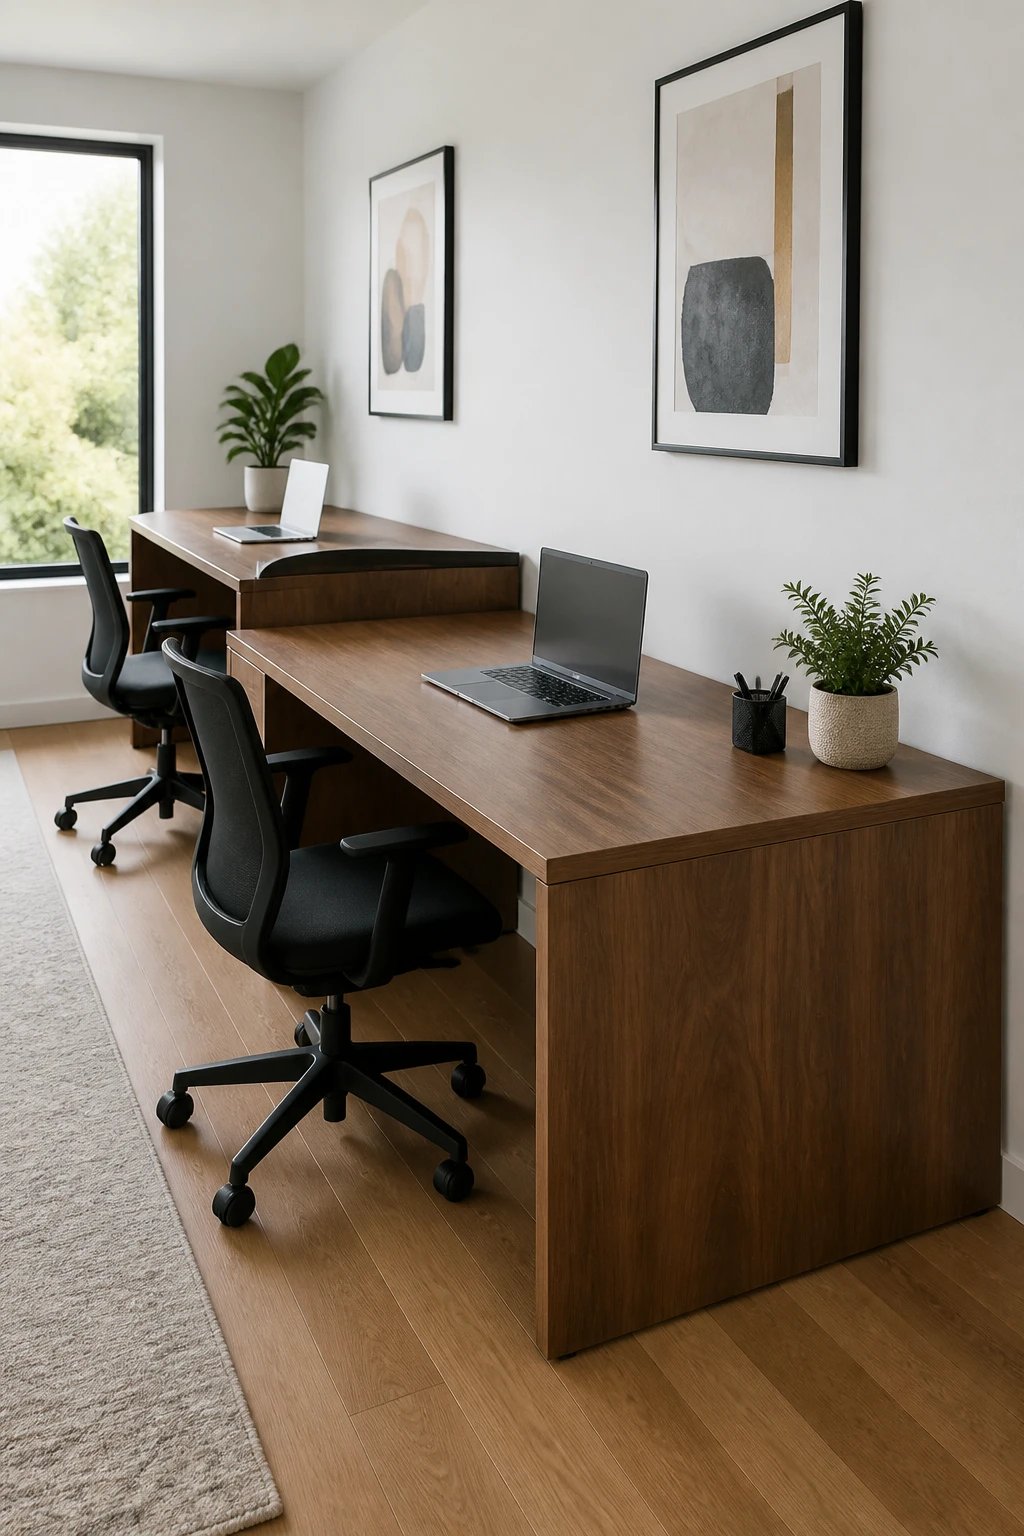
Instead of perfectly aligning your desks, offset them by 12-18 inches to create a staggered, stepped look along one wall. This subtle shift makes a surprisingly huge difference in how the room feels and functions.
The staggered approach breaks up the visual monotony of two identical desks lined up like soldiers. It adds architectural interest while creating natural divisions between workspaces without needing actual dividers.
How to Nail the Stagger:
Start with one desk positioned normally against the wall. Place the second desk along the same wall but pulled forward by about a foot or so. The offset creates depth and gives each person a slightly different relationship to the room.
This works brilliantly when you have different desk depths or styles that you’re trying to make work together. The stagger makes intentional what might otherwise look like a mismatch – it’s design jujitsu at its finest.
- Depth perception: Makes the room feel larger through dimensional layering
- Personalization zones: Each desk gets its own slightly different backdrop
- Traffic management: Creates a natural walking path along the front desk
- Flexibility: Easy to adjust the offset amount based on your needs
The person at the forward desk gets easier room access and can hop up quickly without disturbing the other person. The back desk position offers more privacy and less distraction from room traffic – perfect if you’ve got kids or pets wandering through.
Add different but complementary desk accessories to emphasize each station’s individuality. Maybe one desk rocks a modern metal desk lamp while the other has a classic banker’s lamp. The stagger lets these differences shine instead of clash.
This layout works beautifully when one person needs frequent room access (like a parent working from home with kids) while the other prefers a more tucked-away, focused position.
6. The Murphy Desk Double-Down
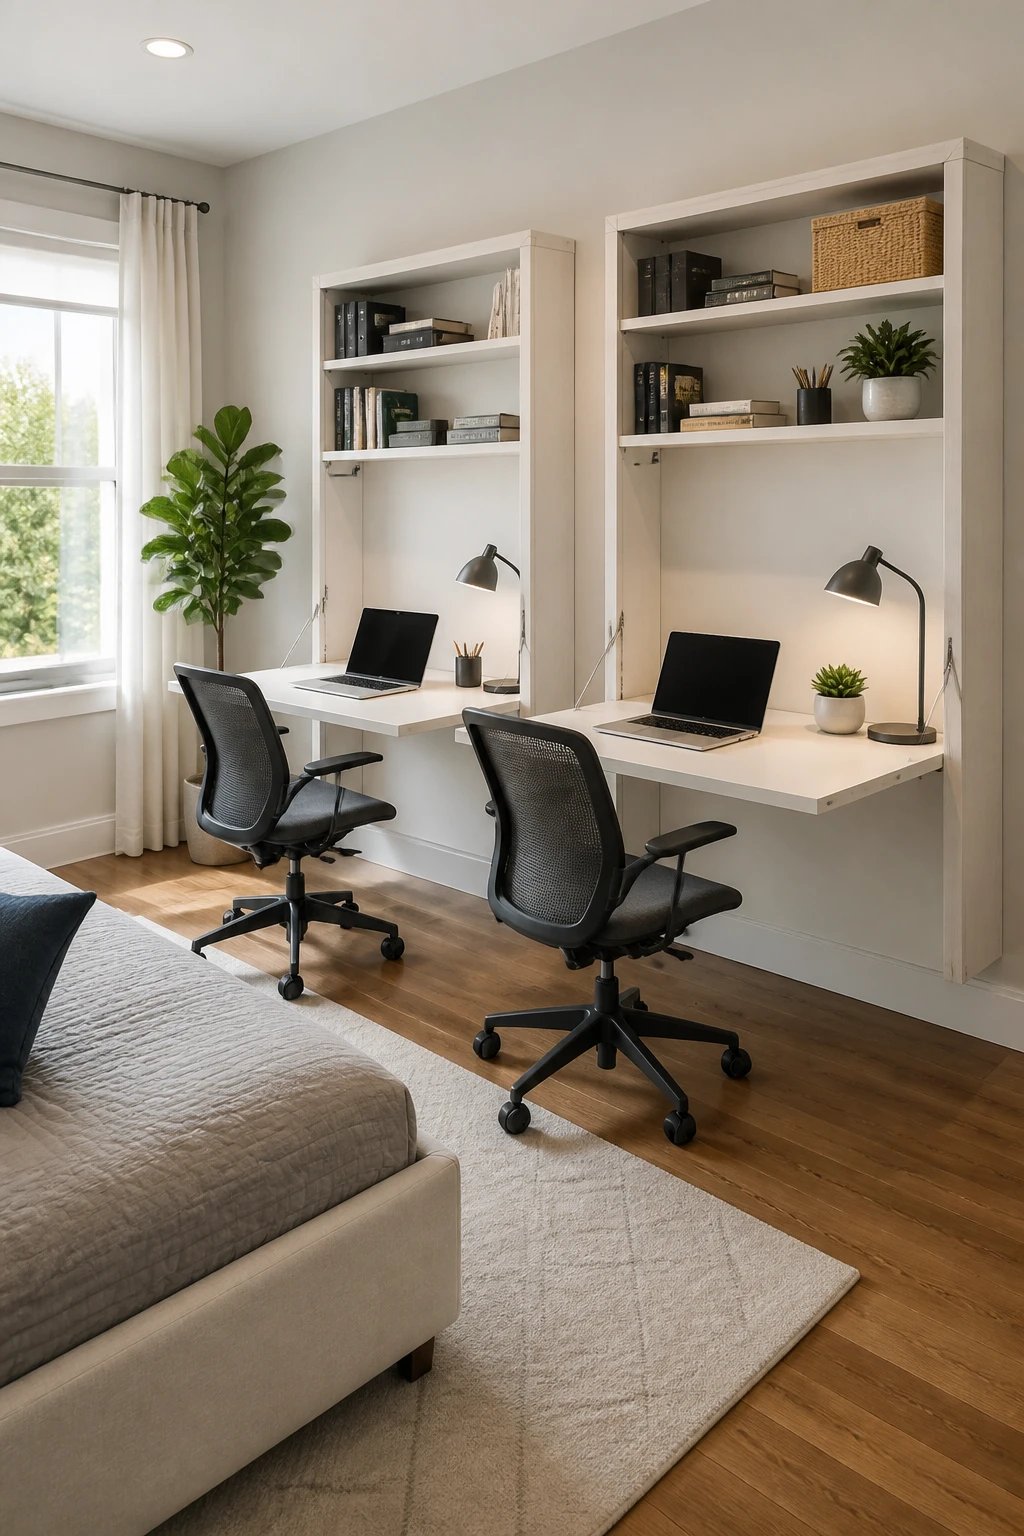
Here’s the ultimate space-saving flex: two wall-mounted fold-down desks that disappear completely when not in use. If your small space pulls double duty as a guest room, living room, or literally anything besides a full-time office, this changes everything.
Wall-mounted desks have come a long way from those sad, wobbly things your college roommate had. Modern Murphy-style desks are sturdy, attractive, and genuinely functional – some even include built-in storage that stays accessible when the desk folds up.
Making Murphy Desks Work for Two:
Install two fold-down desks on the same wall or adjacent walls, depending on your room layout and how much wall space you’re working with. Make sure they’re mounted at the same height for visual consistency – typically around 29-30 inches from the floor.
The genius move? Choose desks with different widths if you have different space needs. One person might need a full 48-inch surface while the other works fine with a compact 36-inch desk. When they fold up, the size difference won’t matter, but when deployed, everyone gets what they need.
- Floor space: Completely reclaimed when desks fold up
- Multi-purpose rooms: Perfect for spaces that can’t commit to full-time office status
- Clean aesthetic: Nothing says “organized” like disappearing furniture
- Commitment level: Requires wall mounting, but worth the installation effort
Look for models with integrated cable management or plan to mount a small power strip directly to the wall behind each desk. You don’t want cords dangling when the desks are folded away – it ruins the whole streamlined effect.
Add a rolling storage cart for each person that can slide under or beside the desk when in use, then roll into a closet when the office transforms back into a living space. This gives you file storage without permanent floor space commitment.
This setup absolutely wins for anyone in a studio apartment, small condo, or shared multipurpose room. FYI, it also works great for seasonal work-from-homers who only need dedicated desks part of the year.
The fold-up approach requires the most planning and initial investment, but delivers unmatched flexibility. You’re getting a full two-person office that literally vanishes when you’re done working – it’s basically magic furniture.
Conclusion
Creating a functional two-desk office in a small space is totally doable when you think strategically about layout instead of just cramming furniture wherever it fits. Whether you go for the collaborative face-to-face setup or the disappearing Murphy desk magic, there’s a configuration that’ll work for your specific space and work style. Pick the layout that speaks to you, measure twice, and get ready to love your shared workspace.
—
Meta Description: Two-desk office cramping your style? These 6 two-desk office layouts transform tiny spaces into productive, beautiful workstations for two people.
Main Keyword: “two-desk office layouts”
SEO Slug: two-desk-office-layouts-small-spaces
0 Comments